


As summer keeps rolling along, you may find yourself penny-pinching more than usual. Champagne picnics, eating out every night and updating that summer wardrobe may have taken a toll on your wallet.
So while you’re yearning for a new pair of shoes or those earrings you saw at Neiman’s, it’s evident your bank account can’t take the hit. Why not bring it back to the 4th grade and utilize some fashion DIYs to help tweak your look? Below we’ve compiled a list of our top three DIY projects courtesy of the lovely blog, A Beautiful Mess.
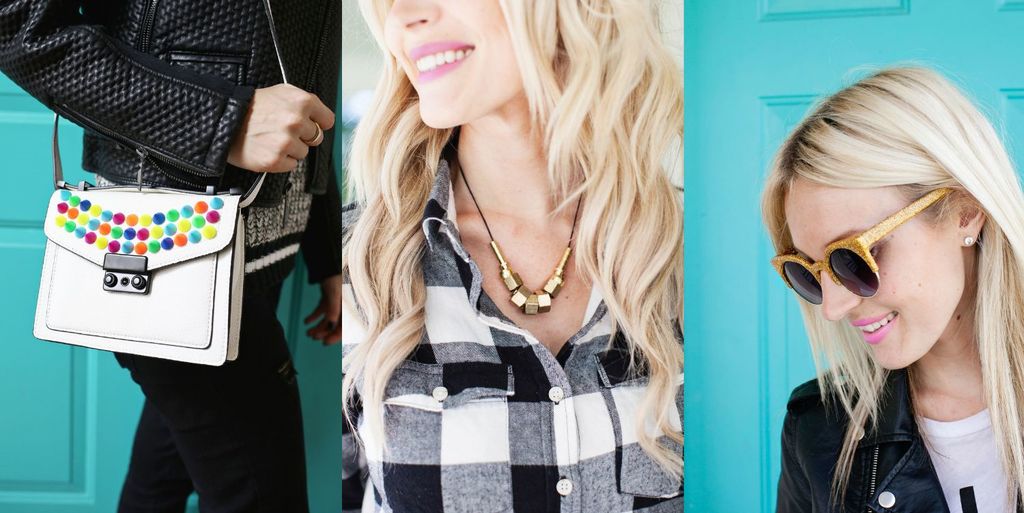
DIY fashion, featuring “A Beautiful Mess”
1. Hardware Necklace
A great piece inspired by what you can find lying around in your tool box, a hardware necklace only takes a couple of steps to complete. It’s an alternative to jewelry that you would find at major retailers such as Madewell or Urban Outfitters but will cost you under $15 to make.

What You’ll Need:
A leather cord, cord crimps, clasp of your choosing, 3-5 compression nuts, 2 compression sleeves, and 2 – 4 beckett compression sleeves
The Steps:
1. Cut the leather cord accordingly. We recommend leaving about three inches for a loop.
2. Construct your design. Add nuts and bolts to create a unique look. Mix it up with beads or different metals to add some dimension.
3. Take three inches from the end and form it into a hoop. Use one cord crimp to keep the loop in place. Press it until firm.
4. Apply the clasp of your choice to the other end of the necklace.
5. Test it out! We recommend paring this piece with a denim top, unfinished denim and a chunky heel.
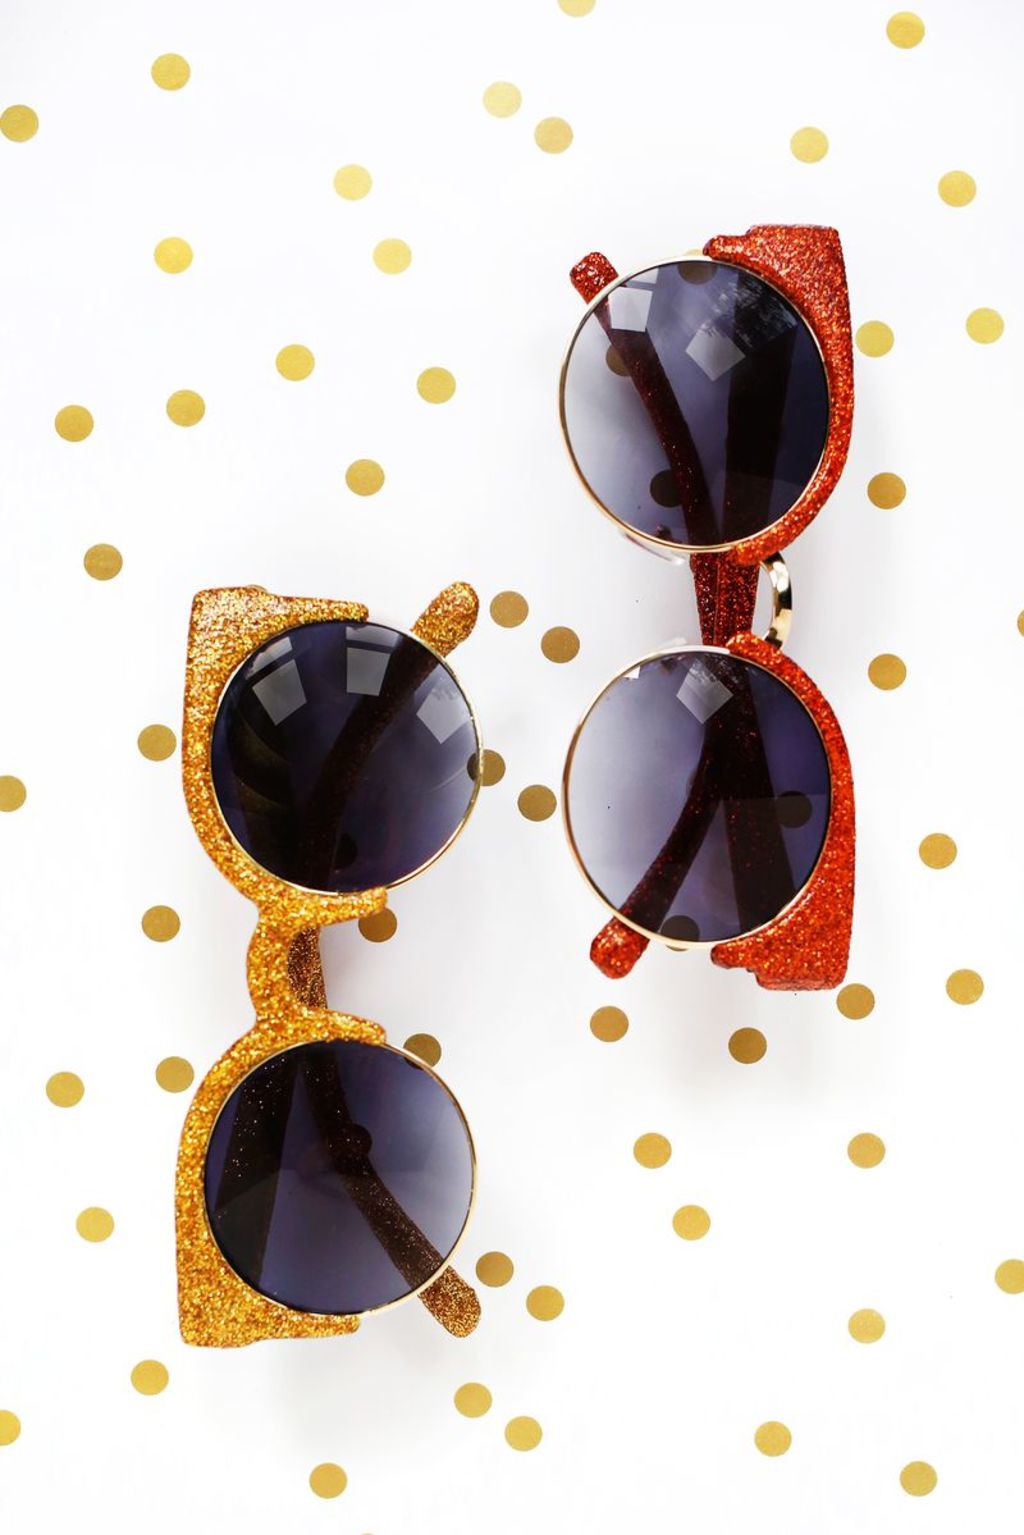
2. Glitter Sunglasses
Want to get some shades that pop but cant find the right ones in a store? Why not make your own glitter sunglasses that will keep you sparkling all summer. You can do this to almost any pair of boring sunglasses that may need an update or head to the store and pick up a pair for under ten dollars.
What You’ll Need:
Sunglasses (with removable lenses), mod-podge, triple thick glaze, fine loose glitter, brushes, super glue, and fine sand paper
The Steps:
1. Start by removing the lenses from the frame. Most lenses have 2-3 small screws attaching the lens to the frame. Don’t worry about saving the screws, for the glue will hold them in place just fine.
2. Give your frames a quick sanding to help make the material rough and give it some grip.
3. Using a brush, apply mod-podge to the front, middle and back of the frames. Save the sides for later.
4. Quickly apply the loose glitter to where you’ve painted. Act fast for a smooth coat of glitter.
5. Once the glue is dry, repeat step 4 then move onto the sides of the frames.
6. Once the mod-podge is set (give it 24 hours), apply the triple thick glaze to the frames to seal the glitter and give 24 hours to dry.
7. Apply some super glue into the slots where the lenses go and stick them back in.
8. Rock these shades day to night in just about any color you can imagine or have time to make.
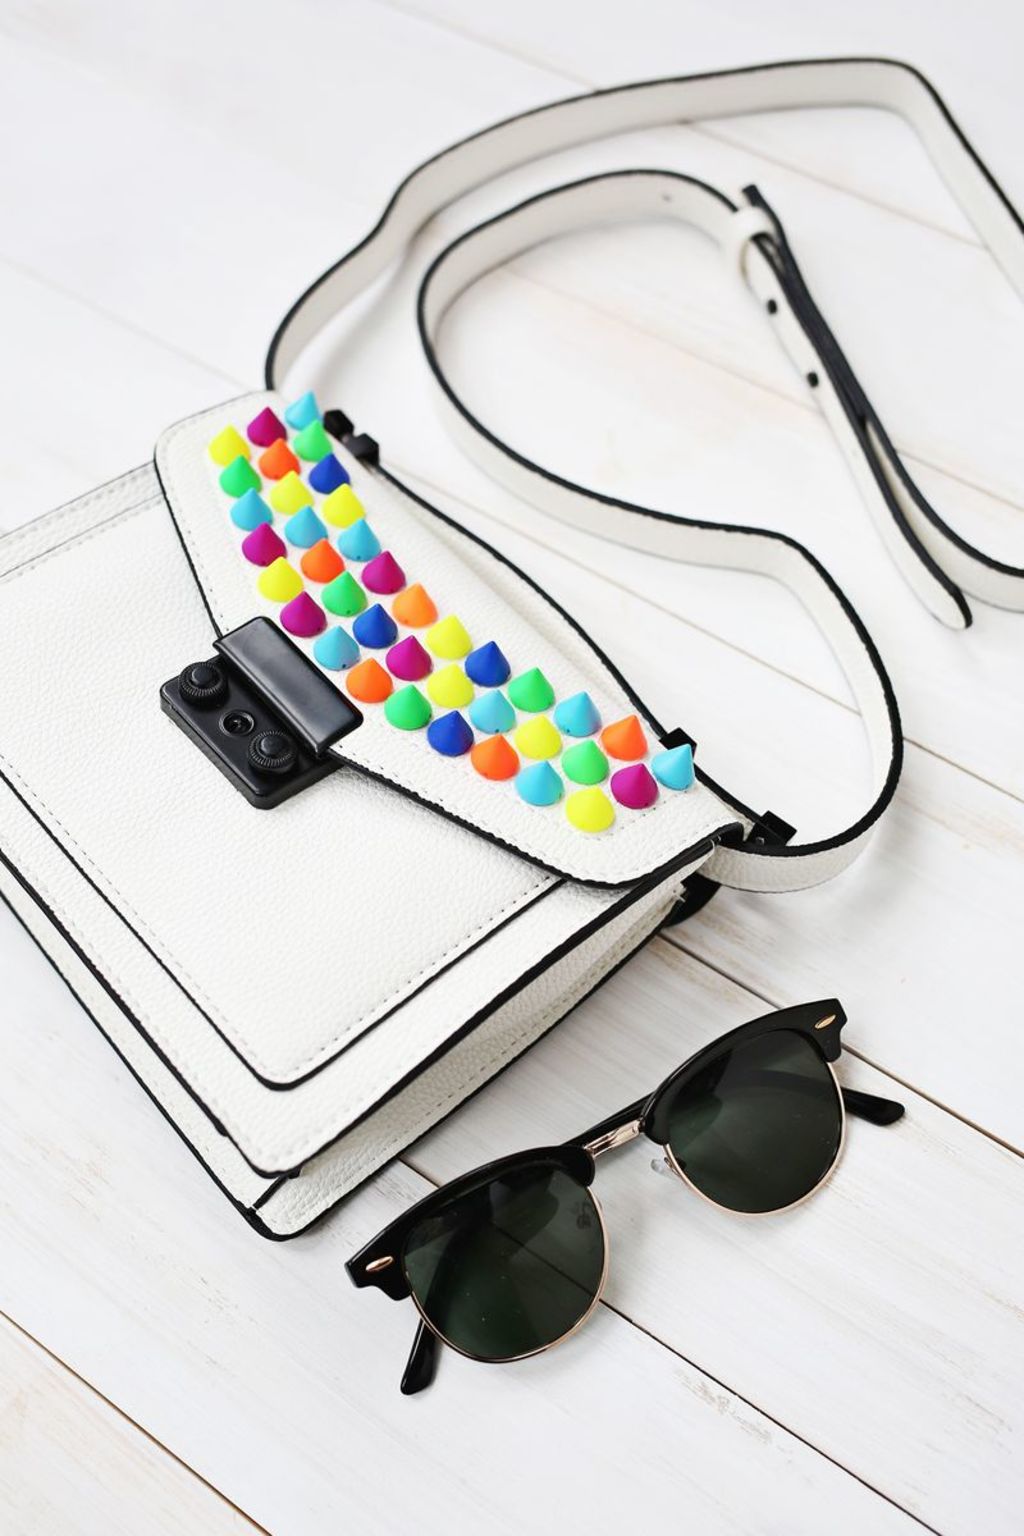
3. Bag Upgrade
It’s mid-summer and you may be finding that you have a lack of color in your closet. So instead of going out and spending a pretty penny on a new wardrobe, why not add that much needed zing through your accessories, primarily your bag.
What You’ll Need:
An inexpensive bag (faux leather works best), super glue gel or epoxy, and a variety of cone spikes
The Steps:
1. Lay your bag on a flat surface and line up the cones according to the order you want. This will help things go smoothly.
2. Using your choice of adhesive, glue down the middle spikes and end spikes first. This will help you keep your design symmetrical.
3. After gluing down your set design (you can outline the bag, cover it up or create a pattern) let it dry for 24 hours.
4. Show off your DIY weekend project to all your friends by celebrating with a few mimosas!