


This past weekend I was enjoying the sunshine, drinking with friends outside on a Denver patio and internally freaking out about the lack of snow in our upcoming Colorado forecast. If you are anything like me, you are anxiously waiting for those heaven-sent flakes to come down in an apocalyptic fashion and cover everything. Upon voicing my concerns for the looming shred season, the conversation moved to, “How do you wax your skis?” Great question. This is knowledge that every Colorado kid should possess and I do. It’s settled, this Saturday I am going to take advantage of another 80-degree weekend and wax my skis. So when it finally snows, I won’t have anything to hold me back. And now with this guide, neither do you.
What you need:

One Iron – Using an actual Ski Iron is great. However, if you’re a ski bum on a budget you can get a $5 thrift shop iron and that will work well.
Ski Wax – There are different types of wax for varying snow temperatures and moisture levels. Purl Wax is a tried and true fan favorite. I am grabbing the Purl Purple All Temperature Wax for this time of year. Generally, I can get through an entire Colorado ski season with Purl Purple and Purl Blue.
One Plastic Scrapper – There is no need to get fancy with a scrapper. Pick up the Swix Handy Scrapper for under $5 at REI.
Two Giant Rubber Bands – Skiers only. You can use any large rubber band, I got mine from hobby lobby years ago and they are still going strong.
One Stiff Nylon Brush – Focus on the bristles when buying a brush. You want short firm bristles to help remove left over wax completely.
Beer – Celebrate the beginning of ski season with an ice cold beer. I will be reaching for Denver Beer Co’s Graham Cracker Porter. It’s like a campfire in a can.
Step 1: Crack open your first beer. You’re a local now.
Step 2: Scout out a level surface. A sturdy workbench is best, but any table will do. Wipe bases clean and make sure your skis and board are stable. Using clamps to secure the skis is a pro move.
Step 3: Turn your iron on; 115 to 125 degrees is the best temperature range. If your iron is smoking, turn it down. Having an iron that is too hot can burn the bases of your board or skis and ruin your gear.
Step 4: Skiers only – Riders move along. Take two giant rubber bands and secure the brakes of your skis away from the base. Loop one end of the rubber band over brake number one and pull over the binding to loop around the opposite brake. This will secure the brakes out of your way.

Step 5: Now that you have a hot iron, wax in hand, bases up and brakes pulled back, you are ready to go. Take the bar of wax in one hand and the iron in the other. Angling the iron, press the corner of your bar of wax into the hot iron hovering above the base of the ski. Starting at the tip, drip the wax onto the base of the ski or board.
Once the wax starts dripping consistently, starting drawing a line of S shapes from tip to tail fairly quickly. Less is more because you have to eventually scrape it off in the end.

Step 6: Take your iron toward the tip of the ski or the top of the board and making circular motions move the iron down the ski or board.
Do not put any pressure on your skis or board with the iron. This is a super common mistake. Applying pressure will burn your bases and ruin your season. Once you have reached the bottom, head back up to the tip and in one smooth motion slide the iron from tip to tail, very slowly.

Step 7: Crack another beer and enjoy. Wait 10 minutes to let the base and the wax cool completely. Don’t jump the gun. Let everything cool down, and drink two beers if you have to.
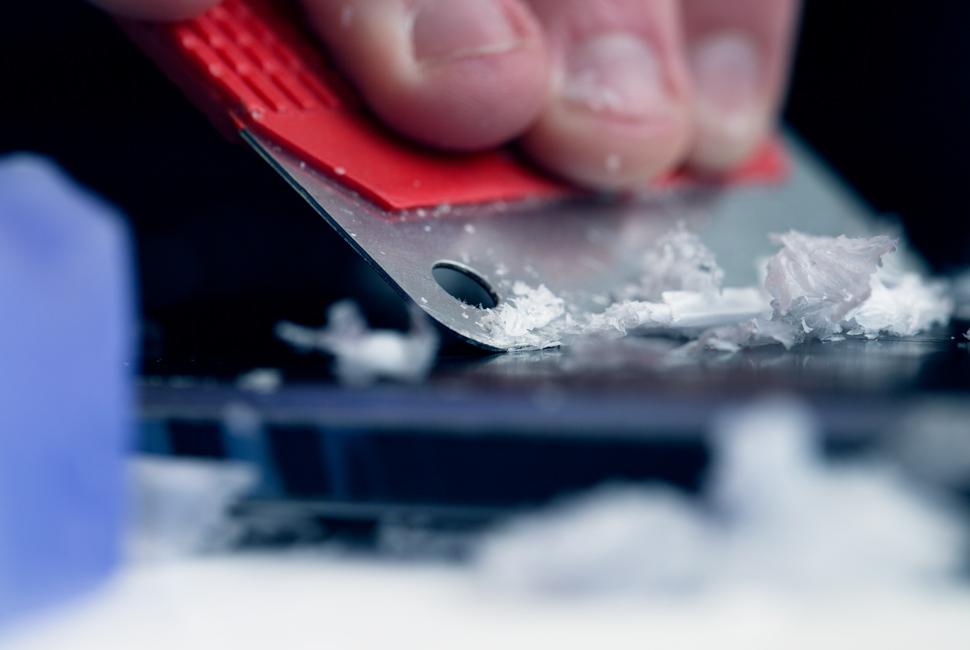
Step 8: Once cool, take your scraper, start from tip to tail and scrape off the wax. It may take 6-8 passes to get all of the wax off.

Step 9: Take your nylon brush, and again from tip to tail (are you catching on to the theme?) brush vigorously down. Using a back and forth motion, work your way down and finish with one long stroke.
Step 10: Get up the hill and be faster than all of your friends.
Looking to try out your newly-waxed ride? Wolf Creek is opening this Thanksgiving Weekend.