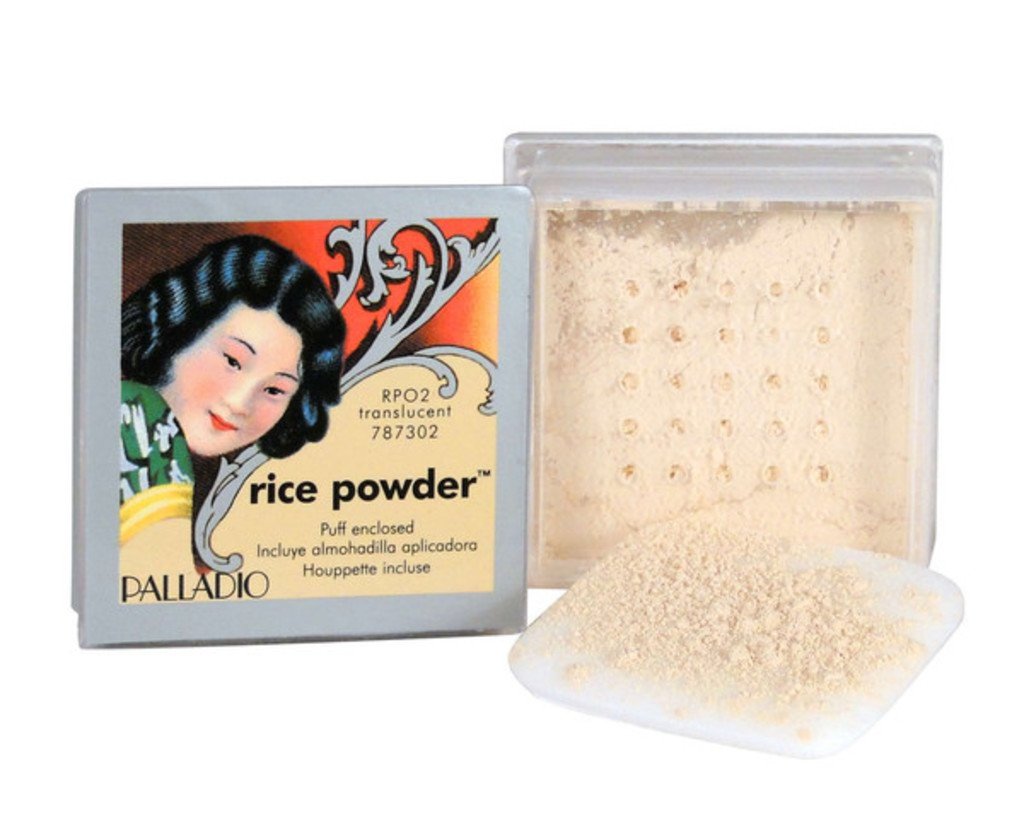
Palladio Rice Powder in Translucent, the perfect setting powder
Highlighting is an age-old makeup technique utilized by celebrities and professional makeup artists to create angles, add shape and define the bone structure of the face. Combined with contouring, highlighting enhances the face and accentuates your best features.
Though it may seem like a task best left for the professional, every woman can master this beneficial technique. Here are the five major steps to achieve the perfect highlight.
Where do I start?
Which step is first, highlighting or contouring? The answer is simple. Foundation is your first step. If foundation is a part of your makeup routine, you need to apply your foundation before highlighting or contouring. After foundation I always recommend applying a light powder to set the look. My favorite is Palladio Rice Powder in Translucent. If you have a darker skin tone this color may have too much shimmer; try Palladio Rice Powder in Natural.
Beauty Tip: Start with Highlighting. Applying Highlight FIRST will allow you to see results and keep your contour color to a minimum. It will stop your makeup from being heavy.
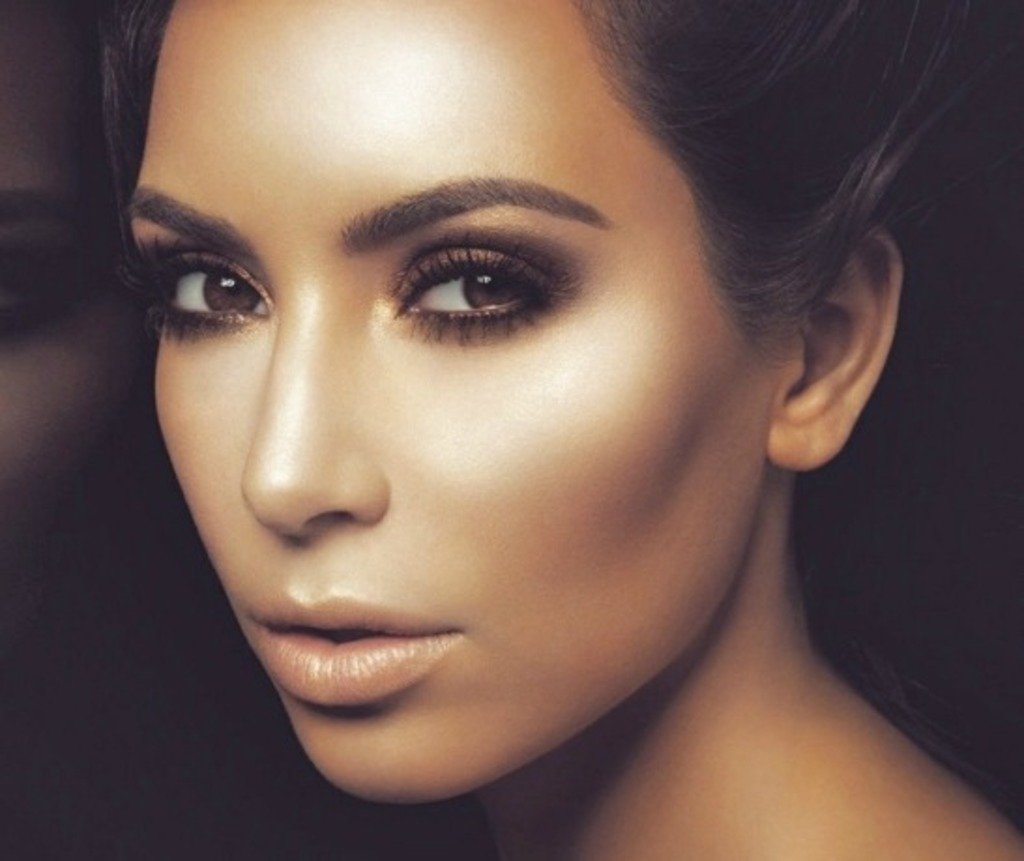
Red Carpet Highlighting – Photo by Glam Bistro
Cheekbones
After you have set your look, select your formula. Make a choice to go with cream makeup or powder makeup. Selecting one formula, either cream or powder, is essential. Your makeup will blend together seamlessly and you will avoid the caked-on effect that is a sign of mixed makeup formulas.
Using a large brush with your powder highlight sweep color across the top of your cheekbones and into your hairline. Apply color under the eye and from the edge of your nose up and out. If you are using a cream formula start light and follow the same path above your cheekbone. Be sure to check you hairline and blend anything that looks too heavy.
Brow Bones
Draw a line of highlight from the inner corner of your eye up toward your brows. Follow the brow bone just beneath your eyebrows. Continue the color to extend slightly beyond your brows. Drawing the highlight up and out will give your eyes a natural lift.
Beauty Tip: Need to brush up on contouring? Learn the easy steps that will help you become a makeup guru with CONTOURING 101.
Bridge of the Nose
Apply highlight from the tip of your nose up along the bridge to the center of the T-zone. This will create a slimming effect on the nose. I like to create a small “V” between my brows drawn up into the center of my T-zone. I feel that this extra highlight helps to emphasize the slimming of my nose and lightens up my forehead as well.
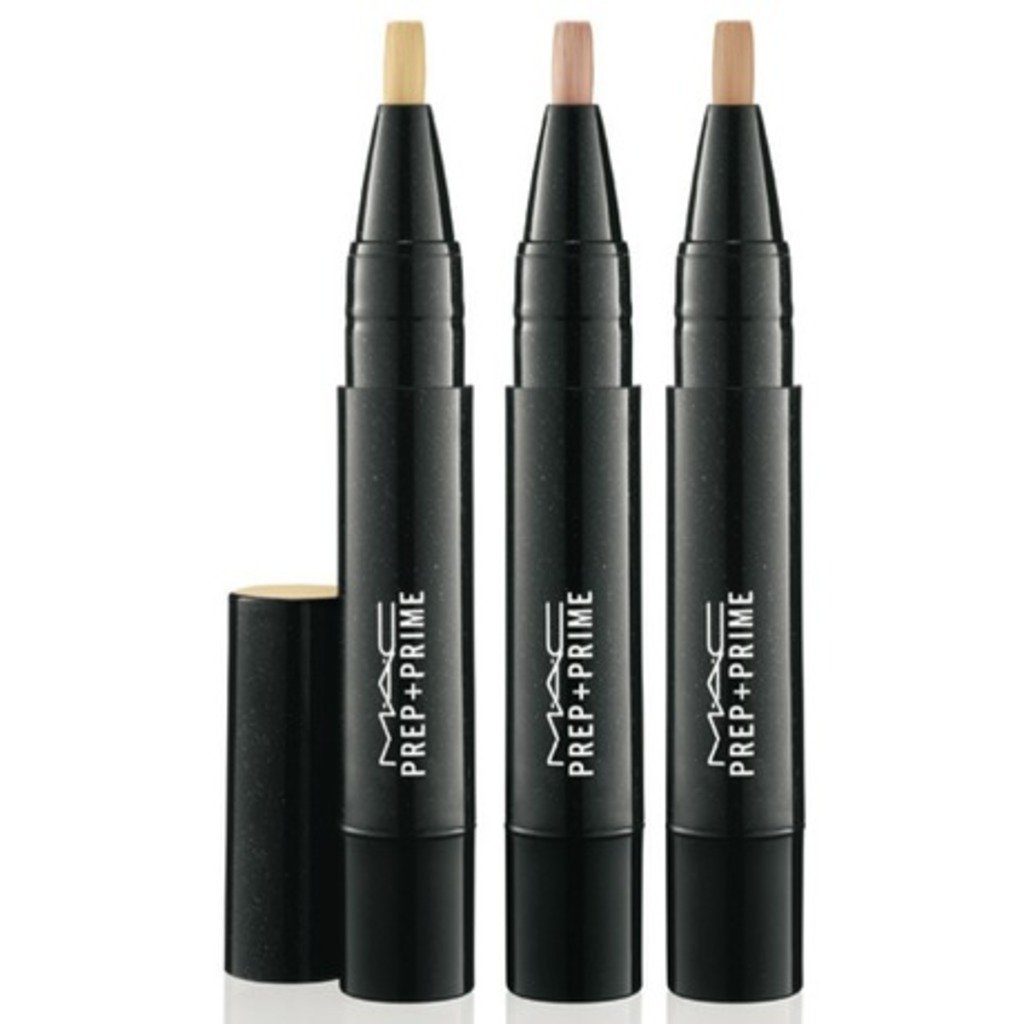
Mac Prep+Prime Highlighter in Light Boost
Bow of the Lip
The bow of your lip is on the “V” in the center of your top lip. Using a small amount of highlight, trace this line from peak to peak of your lip and blend. The Mac Prep + Prime Highlighter Pen in Light Boost is super efficient in following the line of your lip. I love the silky formula and the application is very smooth.
Voilà! You can now highlight with the best of them. Those are the five steps to achieving a great highlight. Finish the look with Contouring and you will be red carpet ready in no time.