


The contouring game has changed forever, and I am so thankful. Gone are the days of Rocky Horror drama lines under cheekbones, hard angles and basically stage makeup creeping its way from Broadway down to the streets. Contouring is everywhere, and despite the numerous YouTube transformations that take hundreds of steps, colors and brushes, contouring is easy and you can do it.
Set your goals
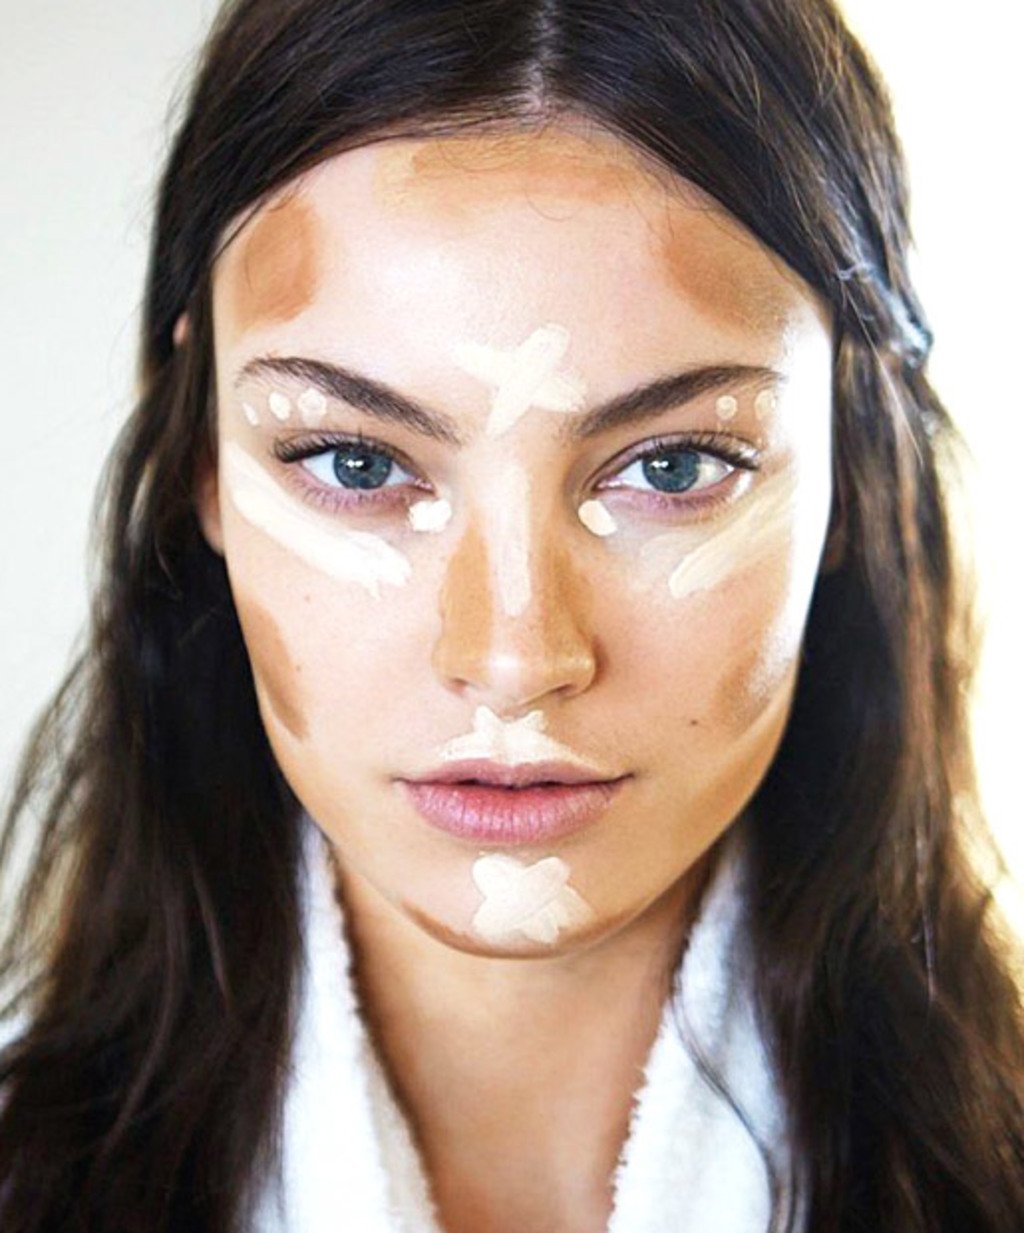
Contouring is about two major beauty goals, enhancing your cheekbones and slimming your face. We are not aiming for plastic surgery results without the knife. The most beautiful makeup still lets you shine through and allows your unique features to be the focal point. It’s a slight of hand with a makeup brush, tricking the eye into seeing the best angles.
Pick a formula
The formula you choose is up to you but make sure you stick with your team. Loyalty pays off in a big way with makeup application. When you are contouring or simply putting on makeup for your day, choose all cream products or all powder. Stick with all powders or all creams in your contour products and continue this decision from foundation to blush. Layering in different formulas is like layering different textures on top of your skin, causing the dreaded caked-on effect. The mix of formulas will not blend as easily into each other; being consistent makes everything easier.
Grab your tools
If you are using creams, then your fingers are the best tools in the business. Your hands will warm up the makeup upon application, giving you more coverage and making blending easier. When using powders for contouring, reach for a small to medium angle brush. An angle brush will give your more control in the application. I always splurge and go for the natural hair brushes. Yes, they are a little more expensive, but your brushes will last longer and the natural fibers will give you a softer application for your face. Don’t forget to wash your brushes!
Consider your skin tone
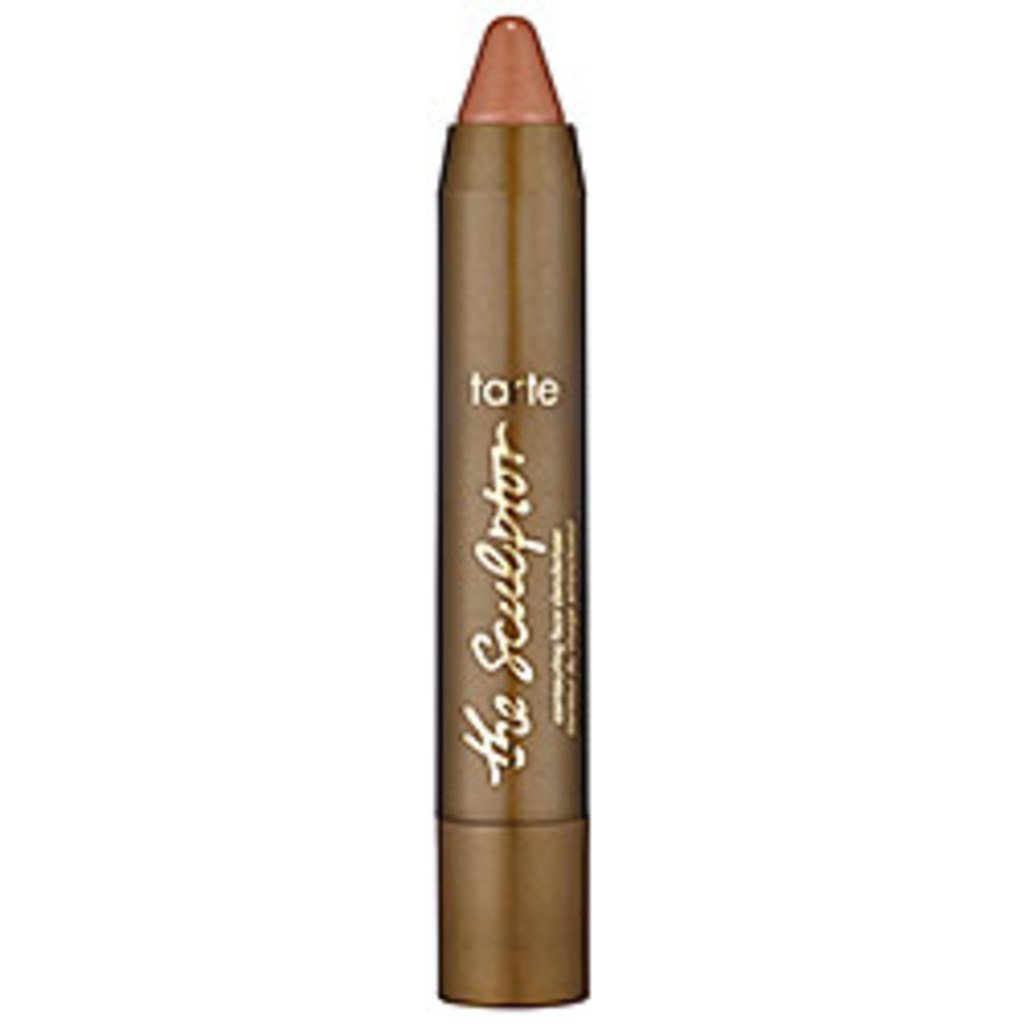
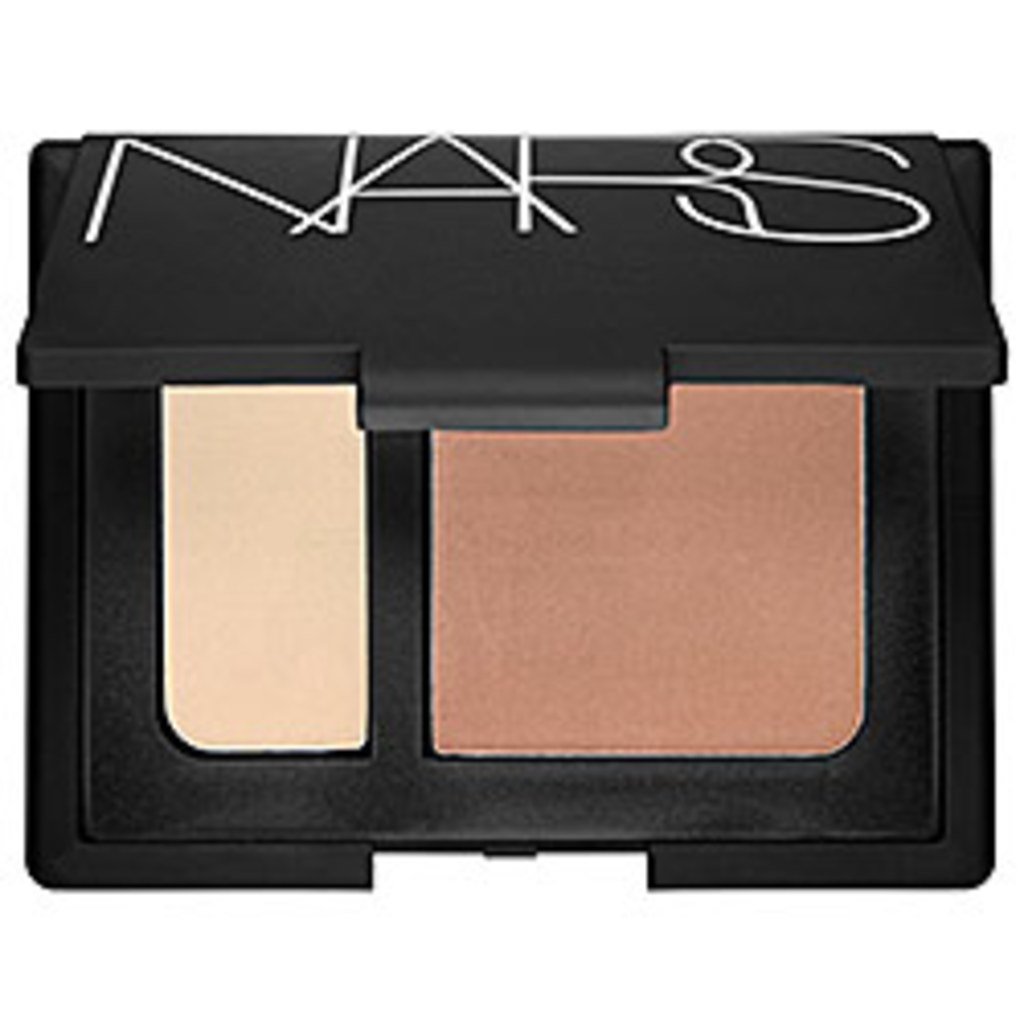
Contouring is about subtlety. Choose your contour cream or powder wisely. Select a shade that is one to two shades darker than your natural skin tone. Keep in mind that you are playing with a shadow effects, so lean toward a grayish or more neutral finish rather than red or orange, which can be in your bronzer. My favorite cream product is the Sculptor Contouring Face Slenderizer by Tarte in Park Ave Princess. It has a light finish and color so you can’t go wrong. However, once summer is here I find myself moving into powder to keep things light, and truthfully, less sweaty. I love the Contour Blush by Nars in Olympia, the rose undertones help balance my skin as I earn my summer glow.
Ready, Set, Contour
Cheekbones: Pucker Up Fishy Face
Remember making a fish face in school? Welcome back. Pucker up and expose your cheekbones. Suck in your cheeks to make a fish face and follow the line you have created. If you have higher cheekbones you may need to apply just above the crease of you fishy face. Grab your contouring color and sweep color from your hairline down towards the edge of your lips, following your fish face line, stopping an inch away from the edge of your mouth. Sweep downward and then back up toward you hairline to soften the line.
Chin: Under The Radar
A simple little trick to give you a killer jaw line, draw a half-moon of color on the edge of your chin right where your chin and neck connect.
Nose: Slim It Down
Starting just below your tear ducts apply contour down each side of your nose. Feel free to stop there, this alone will have a major slimming effect on your nose. If you are feeling the drama, continue the color around the tip of your nose to connect both sides and create an oblong U.
Forehead: Brighten Up
Drawing the attention upward has been a battle of women for centuries, and it’s the final touch in contouring. Divide your forehead in thirds; this usually lines up with the center of your eyes. Then apply color to both outer thirds, sweeping color along the hairline toward your temples but stopping before you reach them. If you go a little too low, don’t worry, just blend it in. I usually start small, with only an inch of color on either side, and then adjust from there.
Blend: The Finale
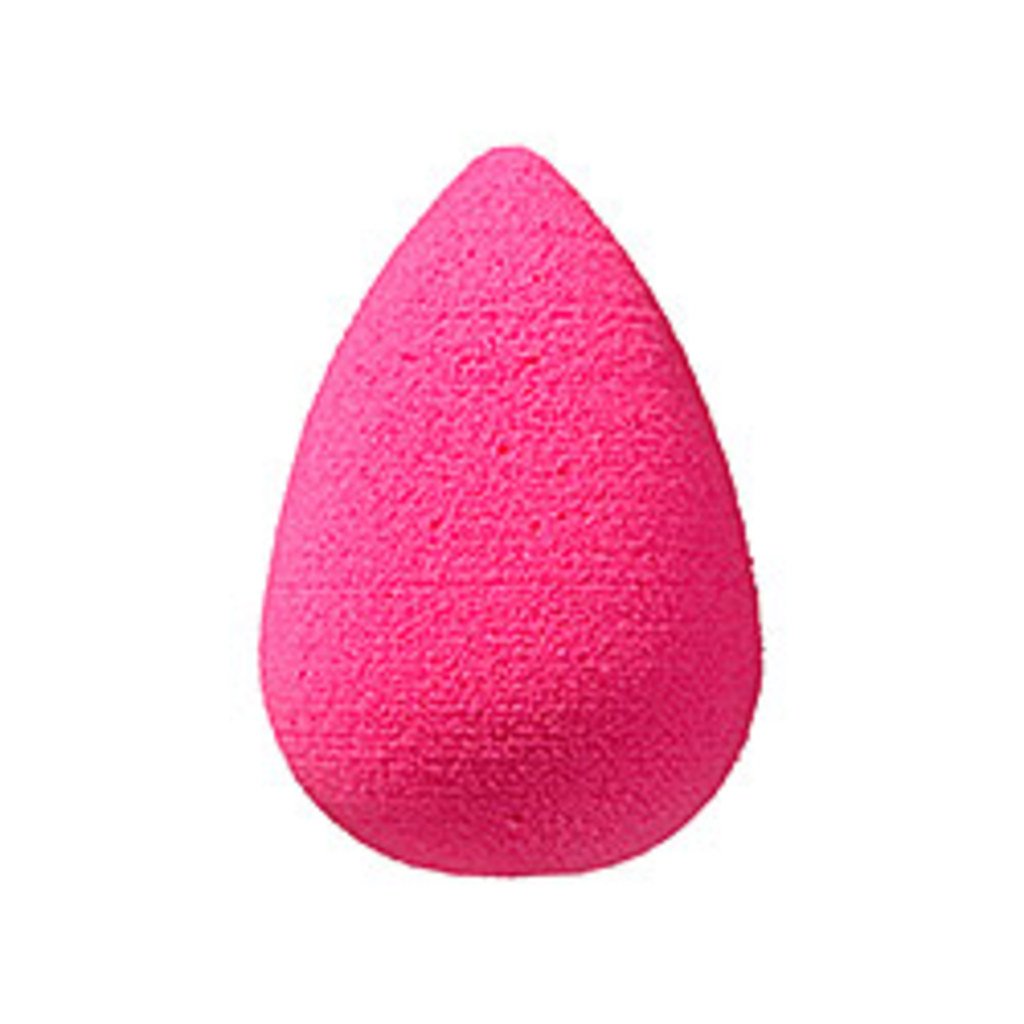
Never underestimate the power of blending; this is a crucial step. If you are using powder makeup, reach for a clean large blending brush, or large clean blush brush. If you are using cream-based makeups, using your fingers is great, and I highly recommend a BeautyBlender. Always finish blending up to give your makeup a lifted look and feel.
Finish your look with highlighting , stay tuned for next week, or simply dab on some blush and go. Contouring can be a nice way to bring out your best features for those natural look days, or you can go for the drama at your next black tie event. Contouring takes practice; don’t give up. Start off light and ease your way in, every face is unique.
Helpful Hint: If you use foundation, make sure to apply foundation first, contour second and finish with your setting powder.